
Interactive Scenes in WebVR
- ARI Leadership Team

- Jan 24, 2020
- 3 min read
In this workshop, we are going to create an interactive museum of your favorite things. It will focus on how to upload assets and make objects interactive using events.
As a review, WebVR uses A-frame which is a web framework for making virtual reality experiences. It uses HTML and ECS (Entity Component System) and can be used on Google Cardboard with minimal setup. It’s also compatible across most headsets and browsers. We will start with a barebones script hosted on glitch:
First Steps:
Go to https://glitch.com
Sign in with Github
Go to https://glitch.com/edit/#!/seen-stone?path=index.html:1:0
Click Remix to Edit button
Your workspace should look like this, and if you hit the show button in the upper left corner, your scene should be completely white.
Creating the Room
Add the following code inside the body of your program:
These will be all of your assets. It also includes the camera so that you can see what you made and the sky.
Copy the following code right below the last code. This is the structure of your room. It is a simple grouping of planes to make four walls and a floor. For each plane, there is a "src" which is linked to the assets that we just put in with the tags #floorimg and #wallimg. You won't be able to see much in your scene, but now we are going to add textures!
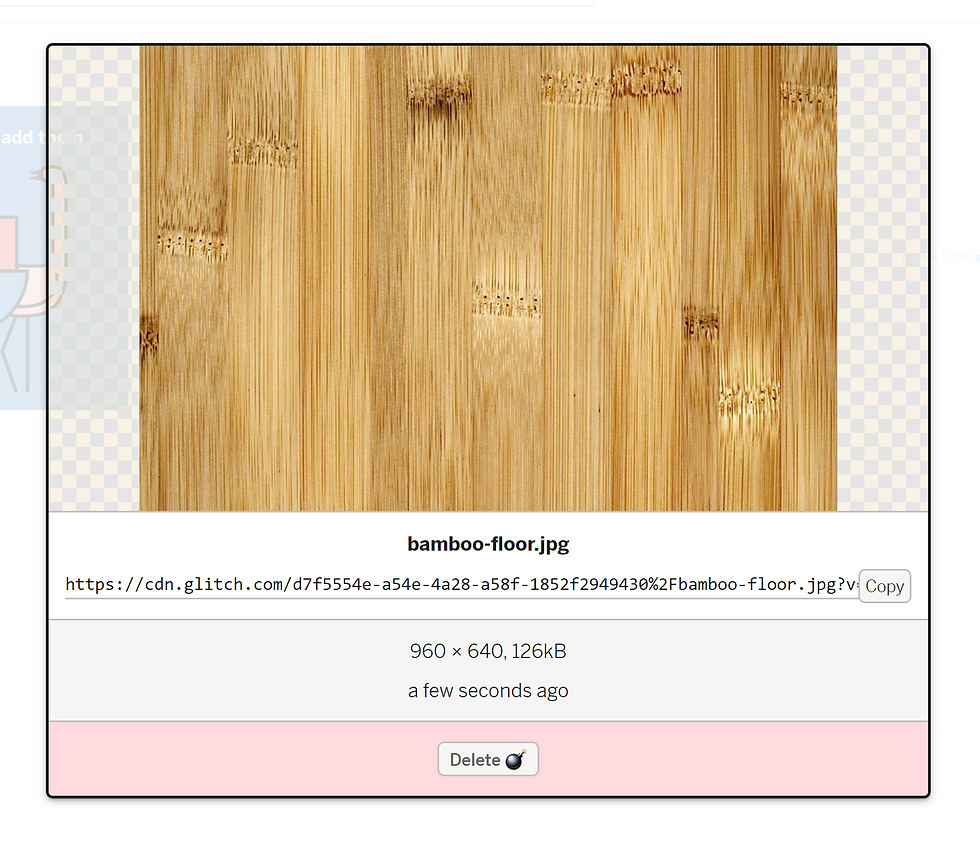
You can pick any image you want for the floor, walls, and sky. I recommend finding some on google and downloading them as a file to your computer. Next, add them to your assets within glitch by hitting the Upload an Asset button.

Once you have added your texture, click on the image and copy the link. You will then copy the link into the empty scr="" part of your code corresponding to what texture you want for your walls, floor, and sky respectively.
You should now be able to see your completed room within your scene.
Adding Our Favorite Things
To add objects:
Find a 3D object file you like from a free website
Download it as a .glTF
Unzip the file in file explorer
Use this website {https://glb-packer.glitch.me/} to change it into a GLB
Add it to glitch assets like the textures from the first part
Now add the following code as your object structure.

If you added your asset correctly you should now be able to see your object above a black box with a black label in the background. But that is a little boring so let's make it rotate so you can see all sides of it. Add the following code after the src="object1" in the a-gltf-model section of the object:
Feel free to change the text of your label and the position of your objects however you like. You can also that section of code to add more objects.
Linking Our Labels
Now we are going to link our object and our label with a script. The labels are a little distracting so we are going to change it so that the label is only visible when we hover the mouse over our object.
The following code is our script. It will control the event of making a label visible and listening for that event to happen. Copy into the top of your body section.
Now in order for our objects to pop up, we need them to be invisible first. Add the following bit of code within the plane labeled captionOne.
Now the last part is linking our objects and the script. Add the following bit code into the a-gltf-model section of the object right after the animation code you added earlier.
The script is labeled signs so the signs= is linking the script and the event listening to your object. The sign:captionOne is passing in the name of your label to the script so it knows which one to make visible.
You should end up with a scene that looks something like this.

You can add on to your scene from here with whatever you want. Add more objects or even more rooms if you are feeling ambitious!
Bonus for completing this workshop: A baby Yoda who's texture is feeling a little dark today.


Comments